Hi all, if you’ve been with me this week you know that I promised to tell you how to make a “Z” fold card on Friday. Well, it’s Friday so let’s get to it, this is how to make a “Z”.
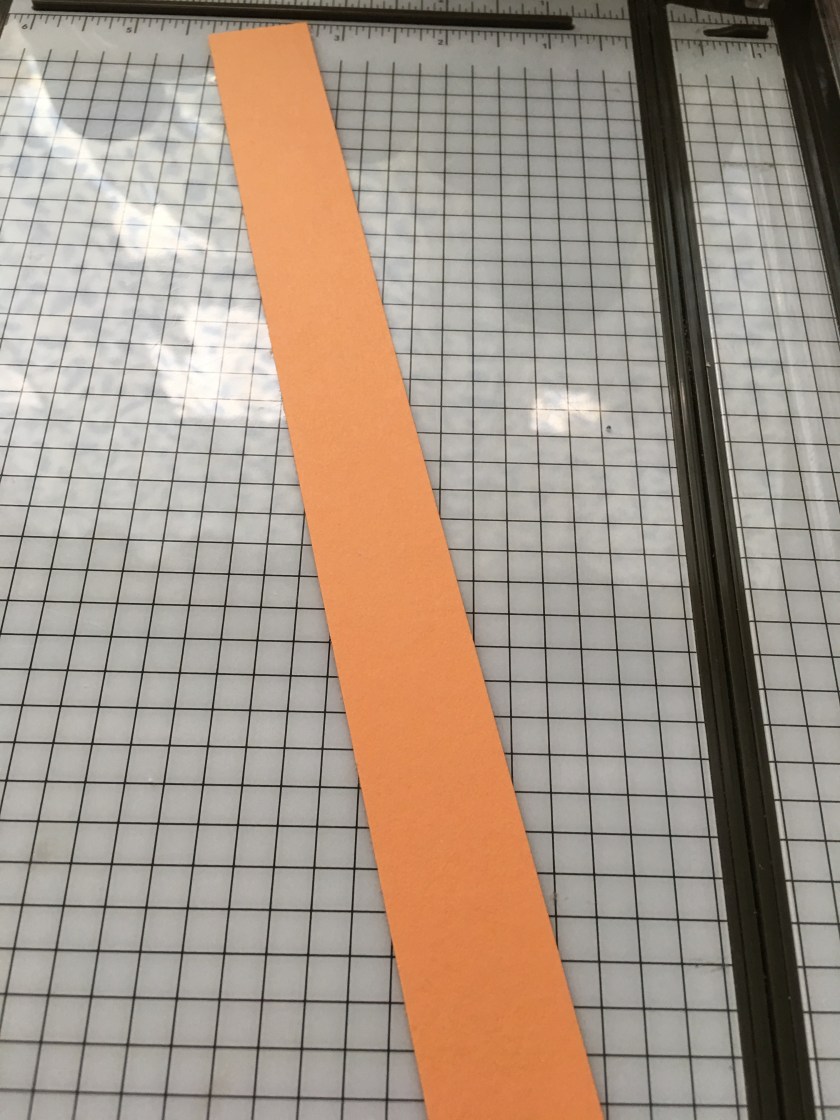
To begin you need a piece of 4 1/4 in.by 11in. piece of cardstock.

You score the cardstock at 2 3/4 in. and 5 1/2 in.


You need to burnish the score lines so they’ll be sharp and crisp. At this point other than adding dsp and any stamping that you plan to add you have completed a basic “Z” fold card.
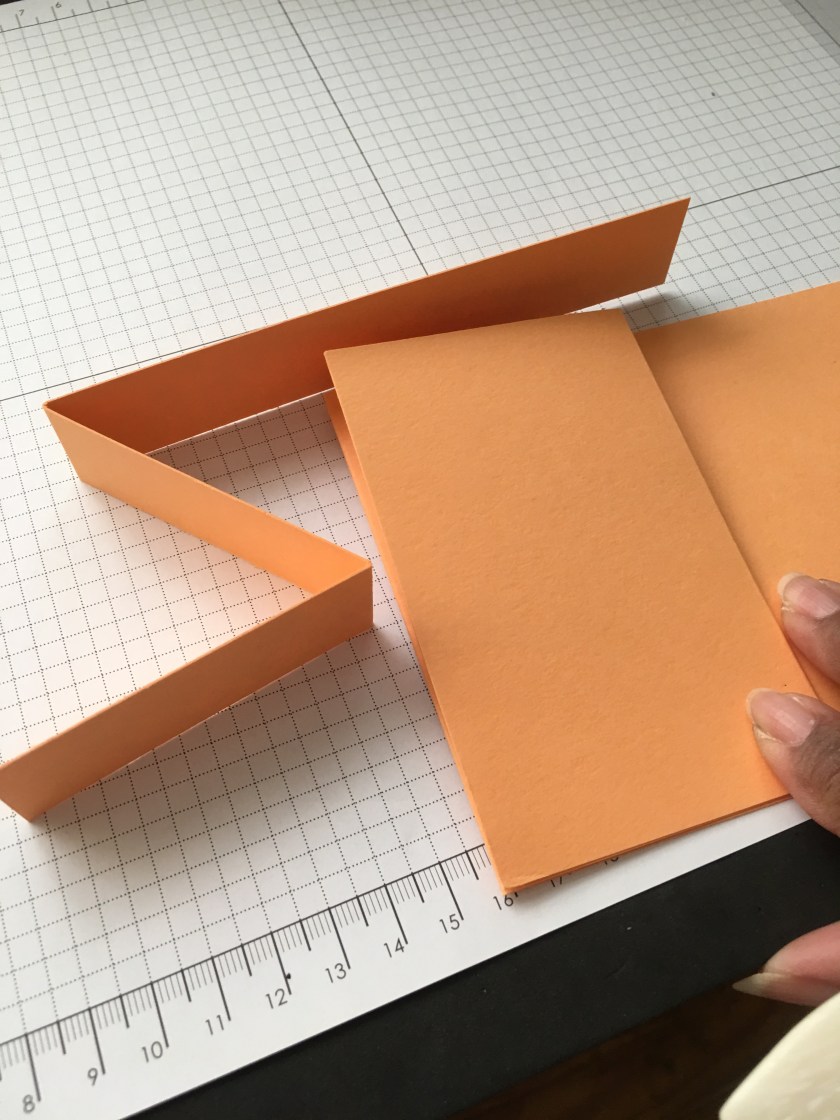
See the “Z” ? What’s that you asked? What about the Upright “Z” from Wednesday? Rather than lie it on its side stand it Upright on the score lines.
For the card I’m sharing today we need an additional piece of cardstock. That cardstock should measure 1 in. by 11 in. and you score it 2 3/4 in. and 5 1/2 in.
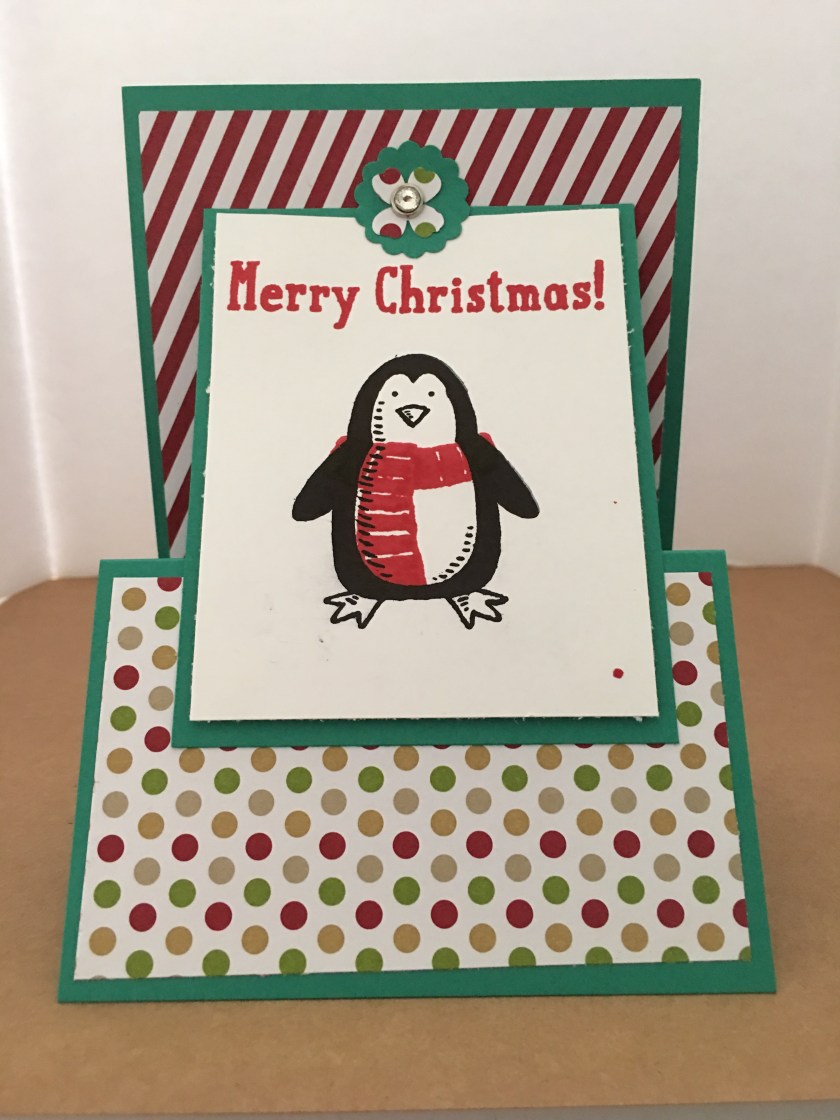
We need to add Designer Series Paper, or as we crafters call it dsp, to our “Z” shaped card base. I used a pattern from the Festive Birthday dsp pack. We need two pieces one measures 2 1/2 x 4 and the other measures 5 1/4 x 4. I attached them using Tombow liquid glue, but you could also use Stampin’ Up’s Snail or Fast Fuse adhesives.

I did a little stamping on a piece of Whisper White cardstock. That piece measures 2 1/4 in. x 3 3/4in. and I attached that to the front of the card base. Now I know you’re wondering why you need that 1 in. by 11 in. piece of cardstock. You need to attach it to the card base.


Now it’s time to see the card. It’s a Double “Z” Fold Card and I’m positive you’re going to love it. Do you see the double z’s? Once again I hit my retired products stash. The cardstock and ink is Peek-a-Boo Peach. The sentiment is from a retired set called Festejando, it’s my acknowledgment of Hispanic Heritage Month.


Please check later today because I’m planning another business only post similar to the one I posted yesterday.
I hope you enjoyed “Z” Fold Card Week as much as I did, because I had an awesome time bringing it to you.
Well, have a creatively awesome weekend and I’ll see you on Monday.

Such fun! Thanks for the step-by-step. I adore the versatility of this z-fold.
LikeLiked by 1 person
Thanks Brian, doing these cards was really fun
LikeLike
Great directions Robbye! I love Z folds.
LikeLiked by 1 person
Thanks Jackie, I think “Z” folds are fun to do.
LikeLike
So much fun making your own cards! I love the penguin!
LikeLiked by 1 person
Thanks Diane
LikeLiked by 1 person